Vinyl stickers are a popular, cost-effective way to decorate, brand, or label just about anything from laptops and shop windows to packaging and helmets. But if you’ve ever ended up with trapped air bubbles or misaligned graphics, you’re not alone.
At Jeewa Plastic, we supply a wide range of vinyl stickers perfect for personal and commercial use. This beginner-friendly guide will show you how to apply them properly—no bubbles, no fuss.
Step 1: Choose the Right Surface
Your surface should be:
- Smooth and clean – like glass, plastic, painted wood, or metal
- Free of dust, grease, or moisture
- Avoid textured or fabric surfaces which reduce sticker adhesion
Clean the area with mild soap and water or a diluted rubbing alcohol solution. Let it dry completely before applying your sticker.
Step 2: Gather Your Tools
Have these items ready:
- Squeegee or a plastic card (e.g., a debit card)
- Masking tape or painter’s tape
- A dry cloth
- A pin or needle (for bubble emergencies)

We recommend using a squeegee from Jeewa to smoothen your sticker like a pro.
Step 3: Plan Your Placement
Before peeling the backing, place the sticker on the surface to test positioning. Use tape to hold it in place temporarily. This helps avoid misalignment and gives you time to adjust.
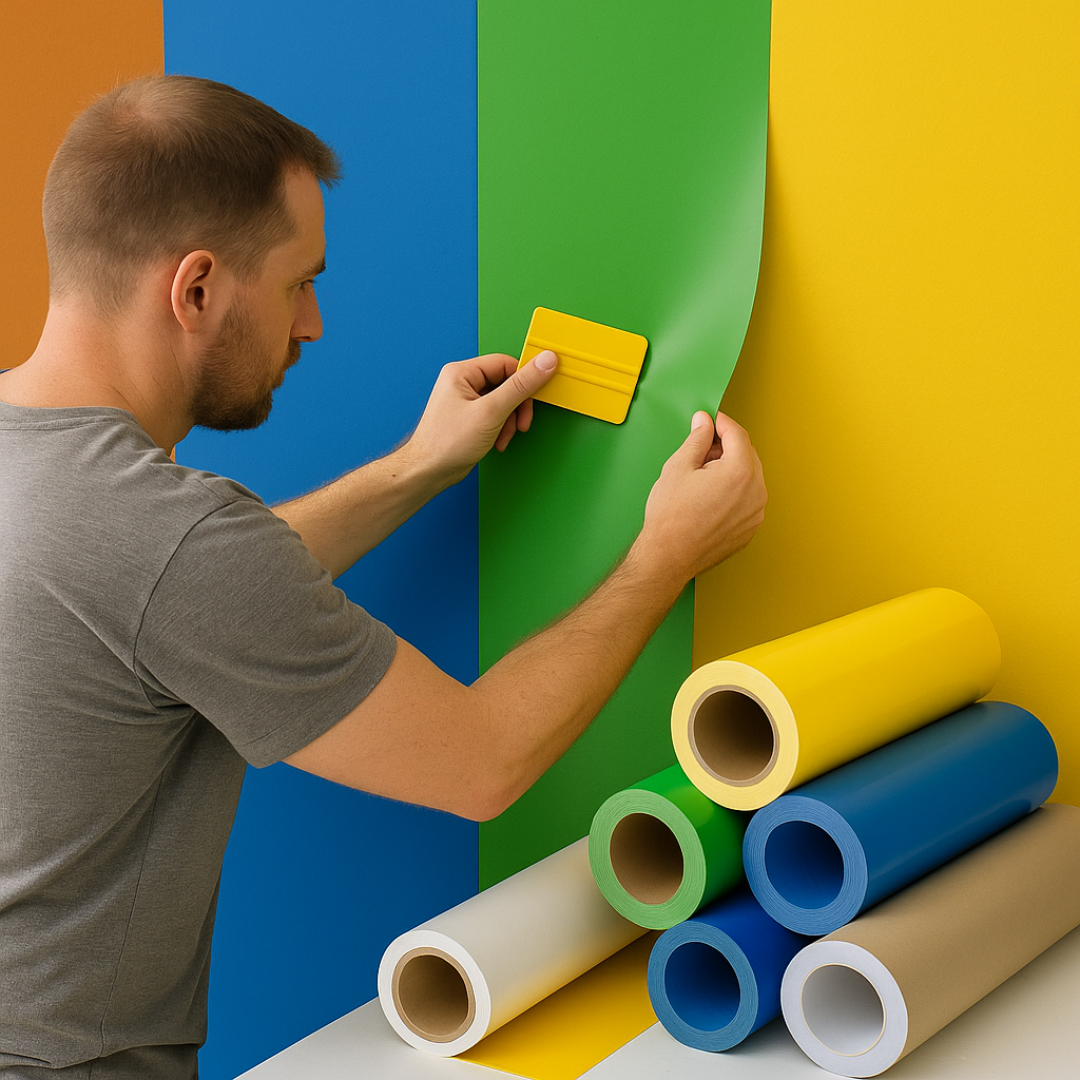
Step 4: Peel and Stick
Gently peel off the backing paper to reveal the adhesive side. Be careful not to let it fold onto itself. Align and place one edge of the sticker onto the surface, then slowly press down using your squeegee or card as you go.
Work from the center outwards to push air out as you apply.
Step 5: Smooth Out Air Bubbles
If any bubbles remain:
- Press gently with your finger or squeegee
- For stubborn bubbles, use a pin to prick the center and gently press the air out

Avoid overhandling the sticker, as it can stretch or wrinkle.
Pro Tips for Long-Lasting Results
- Apply in a dust-free, cool environment
- Let the sticker cure for 24 hours before washing or exposing to heavy contact
- Use printable or branded vinyl from Jeewa Plastic for better adhesion and finish
Start Your Sticker Projects with Confidence
With the right technique and quality materials, anyone can apply vinyl stickers like a pro. Whether you’re branding your storefront, customizing home décor, or getting creative with crafts, Jeewa Plastic has the products and tools you need.
Browse our full vinyl sticker collection and start creating today.